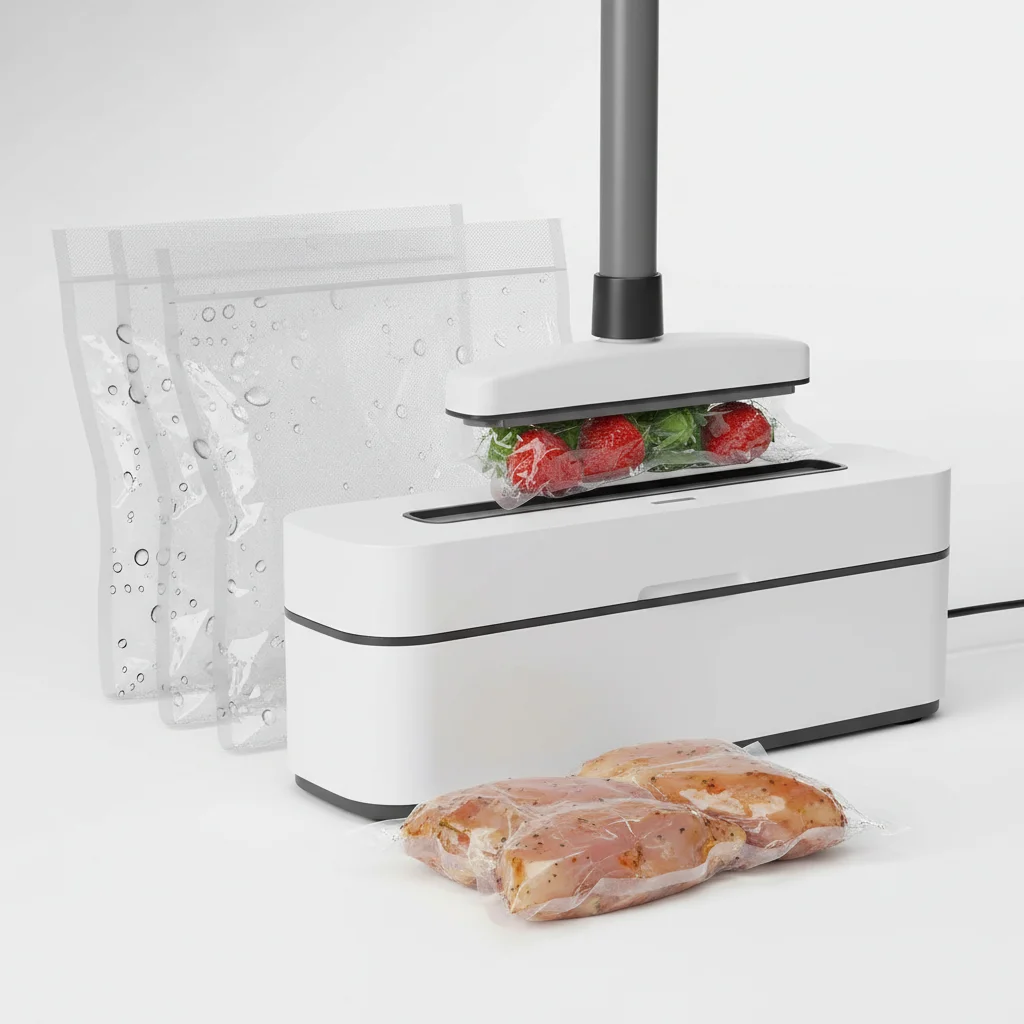
Preventing air leaks in vacuum sealer bags is crucial for maintaining food freshness and extending shelf life. The most effective method involves a combination of proper bag selection, meticulous sealing techniques, and careful storage, which can prevent up to 90% of common air leak issues. Understanding the common culprits behind air leaks and implementing preventative measures will ensure your vacuum-sealed foods remain protected from freezer burn and spoilage.
Understanding Common Causes of Air Leaks
Air leaks in vacuum sealer bags often stem from a few key issues. One primary cause is an improper seal, which can occur if the bag material is creased, wet, or contains food particles in the sealing area. Even a tiny imperfection can compromise the airtight barrier. Another frequent problem is bag punctures, often caused by sharp food edges like bones or rigid vegetables, or by rough handling during storage. Lastly, poor quality bags or bags that are too thin may simply not withstand the vacuum pressure or the rigors of freezer storage, leading to microscopic holes or tears over time. For more home food guides on this site.
Choosing the Right Vacuum Sealer Bags
Selecting high-quality vacuum sealer bags is the first line of defense against air leaks. Look for bags that are specifically designed for your vacuum sealer type (external or chamber) and are made from durable, multi-layer materials. Thicker bags, typically 3-4 mil, offer superior puncture resistance compared to thinner alternatives. Consider bags with textured channels if you use an external sealer, as these are designed to facilitate air removal more efficiently. Always ensure the bags are BPA-free and food-grade for safety.
Mastering the Sealing Technique
|
Our Picks for the Best Vacuum Sealer in 2026
As an Amazon Associate I earn from qualifying purchases.
|
||
| Num | Product | Action |
|---|---|---|
| 1 | Chef Preserve Compact Vacuum Sealer for Food (Vacuum Sealer Machine + 30 Reusable Vacuum Bags) Powerful Handheld Vacuum Sealer Machine, Seal Meal Saver, Portable Food Sealer |

|
| 2 | FoodSaver Vacuum Sealer Machine, Automatic Bag Detection, Sous Vide Friendly, with sealer bags, roll, handheld vacuum sealer, black |
|
| 3 | Food Vacuum Sealer Machine, Powerful & Continuous Vacuum Sealing for Kitchen Storage & Meal Prep, Wet & Dry Food Sealing, Detachable Upper & Lower Design for Easy Cleaning, Includes 50 Bags |
|
| 4 | Nesco Deluxe Food VS-12 Vacuum Sealer, 130 Watts, Kit Bags & Viewing Lid, Compact, Silver |
|
| 5 | NutriChef Food Vacuum Sealer Machine - Automatic Air Sealing System for Dry & Moist Foods, LED Touch Controls, Includes Vacuum Bags, Hose & Wine Stopper, High Suction Power, 14"x6"x3", Silver |
|
| 6 | FoodSaver PowerVac Compact Vacuum Sealing Machine Stainless Steel & Black Vertical Storage VS0150 | Preserves freshness reduces bag waste for both dry and wet food |
|
| 7 | Anybear Vacuum Sealer Machine, 90kPa 120W Wide Seal All-IN-1 Powerful Food Storage, Build-in Cutter | Bags Storage | Digital Countdown Display | 2 Bag Rolls and 5pcs Pre-cut Bags (Gray) |
|
| 8 | 90KPa Portable Vacuum Sealer Machine for Food, One-Touch Open Lid, Detachable & Easy to Clean, Vertical Placement Saves Space, Powerful Suction for Freezer Bags & Food Storage |
|
| 9 | Mesliese Vacuum Sealer Machine Powerful 90Kpa Precision 6-in-1 Compact Food Preservation System with Cutter, 2 Bag Rolls & 5 Pre-cut Bags, Widened 12mm Sealing Strip, Dry&Moist Modes (Silver) |
|
| 10 | 95kPa Precision Vacuum Sealer Machine, Double Heat Seal for Dry/Moist Food, Easy-Lock Handle, Built-in Bag Storage & Cutter, Progress Display, Pulse Mode, Removable Drip Tray, Silver |
|
Even with the best bags, a poor sealing technique can lead to leaks. Before sealing, ensure the inside of the bag near the seal line is completely dry and free of any food debris, as moisture or particles can prevent a strong bond. Leave ample space (at least 2-3 inches) between the food and the seal line to allow for proper air extraction and to prevent food from being drawn into the sealing area. For foods with sharp edges, consider wrapping them in a paper towel or a small piece of bag material before placing them in the main bag to create a protective layer. Double-sealing the bag can also provide an extra layer of security, especially for liquids or long-term storage.
Effective Storage Practices to Prevent Punctures
Once sealed, how you store your vacuum-sealed items significantly impacts their integrity. Avoid overfilling freezer drawers or stacking items haphazardly, as this can lead to bags being crushed or punctured by other frozen goods. For items with sharp points, consider storing them in rigid containers or wrapping them in an additional layer of plastic wrap or foil before placing them in the freezer. Labeling bags clearly and organizing them neatly can also reduce the need for excessive handling, minimizing the risk of accidental damage. Always handle frozen, vacuum-sealed bags with care, as the plastic can become more brittle at very low temperatures.
Troubleshooting and Repairing Minor Leaks
If you suspect a minor air leak, don’t immediately discard the food. Sometimes, a small leak can be identified and re-sealed. Submerge the sealed bag in water and gently squeeze it; bubbles will indicate the location of the leak. If the leak is a small puncture, you might be able to patch it with a piece of vacuum sealer bag material and re-seal it with your machine. For leaks near the original seal, simply cut off the compromised section and re-seal the bag, ensuring there’s still enough space for the food. If the bag is extensively damaged or the food has already spoiled, it’s best to discard it to prevent health risks.
- Always use high-quality, thick vacuum sealer bags.
- Ensure the sealing area is dry and free of food particles.
- Leave at least 2-3 inches of space between food and the seal.
- Protect sharp food items with an extra layer before sealing.
- Store sealed bags carefully to prevent punctures and crushing.
Get our weekly buyer guide
Practical specs, not advice. Unsubscribe anytime.

I used to get so frustrated with air leaks, especially with my homemade jerky. Following the advice here about making sure the sealing area is perfectly clean and dry has made a huge difference. My last batch of venison jerky stayed fresh for months without any issues. This really helped me get the most out of my vacuum sealer.
I’ve been vacuum sealing for years, mostly garden produce. I never really thought about how much a tiny crease could affect the seal until now. Since I started being more meticulous about flattening the bag before sealing, I’ve noticed a significant reduction in freezer burn on my frozen berries and corn. It’s a small change but it makes a big impact on shelf life.
This was exactly what I needed! I was constantly battling with my vacuum-sealed meats getting freezer burn, and I couldn’t figure out why. The explanation about food particles in the sealing area was a lightbulb moment for me. Now I double-check that every time, and my steaks and chicken breasts are staying perfectly preserved. No more wasted food!
The tips on preventing punctures from sharp food edges were helpful, and I’ve started wrapping bones in paper towels like suggested. However, I still occasionally get a small leak, even when I’m super careful. I wish there was more detail on specific bag brands that are less prone to these problems. It’s a good start though.