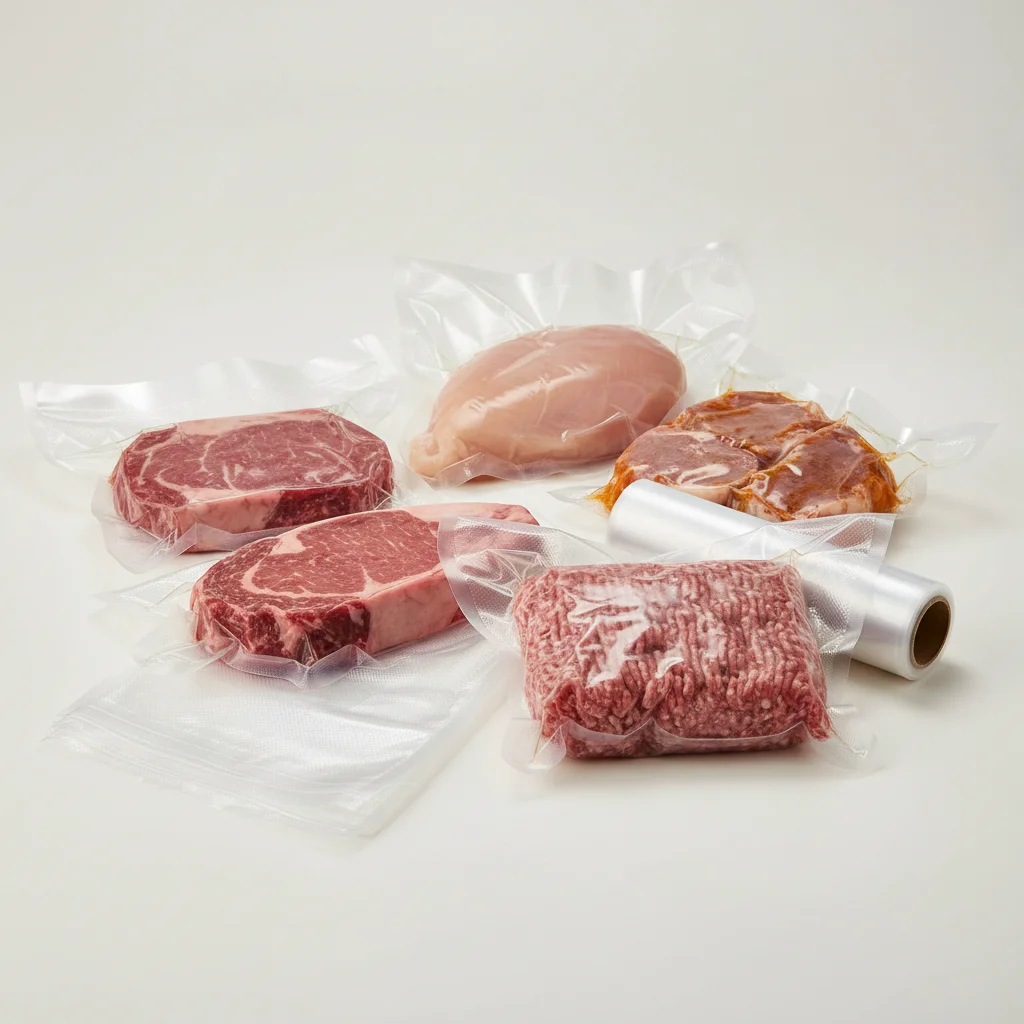
Vacuum sealer bags are an excellent tool for long-term meat storage, and when used correctly, they can keep various types of meat fresh and safe for up to 2-3 years in the freezer. This extended shelf life is achieved by removing oxygen, which is a primary factor in spoilage and freezer burn. Understanding the proper techniques for preparing, sealing, and storing meat is crucial to maximizing these benefits and ensuring food safety.
Preparing Meat for Vacuum Sealing
Before vacuum sealing, proper meat preparation is essential. Trim off any excess fat or bone fragments that could puncture the bag. For ground meats, flatten them into uniform patties or blocks to ensure an even seal and easier storage. For larger cuts, consider pre-freezing them for an hour or two on a tray. This initial chill helps the meat retain its shape and prevents liquids from being drawn into the vacuum sealer during the sealing process, which can compromise the seal.
Choosing the Right Vacuum Sealer Bags
Selecting the correct vacuum sealer bags is vital for effective meat preservation. Always use bags specifically designed for vacuum sealing, as they are made from multi-layer, food-grade plastic that can withstand freezing temperatures and prevent oxygen permeation. Look for bags that are BPA-free and safe for freezer use. The thickness of the bag also matters; thicker bags (typically 3-4 mil) offer better puncture resistance, which is especially important when sealing meat with bones or sharp edges.
The Vacuum Sealing Process for Meat
|
Our Picks for the Best Vacuum Sealer in 2026
As an Amazon Associate I earn from qualifying purchases.
|
||
| Num | Product | Action |
|---|---|---|
| 1 | 90KPa Portable Vacuum Sealer Machine for Food, One-Touch Open Lid, Detachable & Easy to Clean, Vertical Placement Saves Space, Powerful Suction for Freezer Bags & Food Storage |

|
| 2 | NutriChef Food Vacuum Sealer Machine - Automatic Air Sealing System for Dry & Moist Foods, LED Touch Controls, Includes Vacuum Bags, Hose & Wine Stopper, High Suction Power, 14"x6"x3", Silver |
|
| 3 | Chef Preserve Compact Vacuum Sealer for Food (Vacuum Sealer Machine + 30 Reusable Vacuum Bags) Powerful Handheld Vacuum Sealer Machine, Seal Meal Saver, Portable Food Sealer |
|
| 4 | Anybear Vacuum Sealer Machine, 90kPa 120W Wide Seal All-IN-1 Powerful Food Storage, Build-in Cutter | Bags Storage | Digital Countdown Display | 2 Bag Rolls and 5pcs Pre-cut Bags (Gray) |
|
| 5 | 95kPa Precision Vacuum Sealer Machine, Double Heat Seal for Dry/Moist Food, Easy-Lock Handle, Built-in Bag Storage & Cutter, Progress Display, Pulse Mode, Removable Drip Tray, Silver |
|
| 6 | FoodSaver PowerVac Compact Vacuum Sealing Machine Stainless Steel & Black Vertical Storage VS0150 | Preserves freshness reduces bag waste for both dry and wet food |
|
| 7 | FoodSaver Vacuum Sealer Machine, Automatic Bag Detection, Sous Vide Friendly, with sealer bags, roll, handheld vacuum sealer, black |
|
| 8 | Nesco Deluxe Food VS-12 Vacuum Sealer, 130 Watts, Kit Bags & Viewing Lid, Compact, Silver |
|
| 9 | Food Vacuum Sealer Machine, Powerful & Continuous Vacuum Sealing for Kitchen Storage & Meal Prep, Wet & Dry Food Sealing, Detachable Upper & Lower Design for Easy Cleaning, Includes 50 Bags |
|
| 10 | Mesliese Vacuum Sealer Machine Powerful 90Kpa Precision 6-in-1 Compact Food Preservation System with Cutter, 2 Bag Rolls & 5 Pre-cut Bags, Widened 12mm Sealing Strip, Dry&Moist Modes (Silver) |
|
To vacuum seal meat effectively, place the prepared meat in the bag, ensuring there is at least 2-3 inches of space between the meat and the open end of the bag. This space is necessary for a strong, reliable seal. Position the open end of the bag into your vacuum sealer according to the manufacturer’s instructions. Activate the vacuum and seal function. For meats with higher moisture content, some sealers offer a “moist” setting or a manual seal option, allowing you to stop the vacuum process just before liquids are drawn into the sealing area. Always double-check the seal to ensure it is complete and airtight.
Safe Storage Practices for Vacuum-Sealed Meat
Once vacuum-sealed, immediately transfer the meat to the freezer. Store the bags flat initially to maximize freezer space and allow for quicker freezing. Label each bag with the type of meat and the date it was sealed. This practice helps with inventory management and ensures you consume older items first. Avoid stacking too many bags on top of each other until they are fully frozen, as this can impede proper freezing. Maintain a consistent freezer temperature of 0°F (-18°C) or below for optimal long-term storage.
Thawing and Using Vacuum-Sealed Meat
When you’re ready to use your vacuum-sealed meat, always thaw it safely. The safest methods include thawing in the refrigerator, in cold water (changing the water every 30 minutes), or in the microwave (if cooking immediately). Never thaw meat at room temperature, as this can promote bacterial growth. Once thawed, cook the meat to the appropriate internal temperature. The vacuum-sealed environment helps maintain the meat’s quality, flavor, and nutritional value, making it taste as fresh as the day it was sealed.
- Ensure meat is properly trimmed of excess fat and bone.
- Pre-freeze meat briefly to prevent liquid suction during sealing.
- Use high-quality, food-grade vacuum sealer bags.
- Leave adequate space at the top of the bag for a strong seal.
- Label and date all vacuum-sealed meat for easy tracking.
Get our weekly buyer guide
Practical specs, not advice. Unsubscribe anytime.
